


Check Your Hard Drive
To get the best performance from Ventura, you have to have enough free space. A quick cleanup will make the experience better and remove the old baggage from your drive. So first, check what’s taking up your space.

Clean Up Your Mac
The fresh macOS needs a basic Mac refresh. It’s recommended that you remove system junk files from your disk and install macOS Ventura on a cleaner hard drive. The easiest (and fastest) way to free up your storage is by running a scan with CleanMyMac X. It cleans out:
System junk
Unused apps
Extensions
Browser junk
App leftovers
Broken downloads
Adware extensions
Tracking cookies
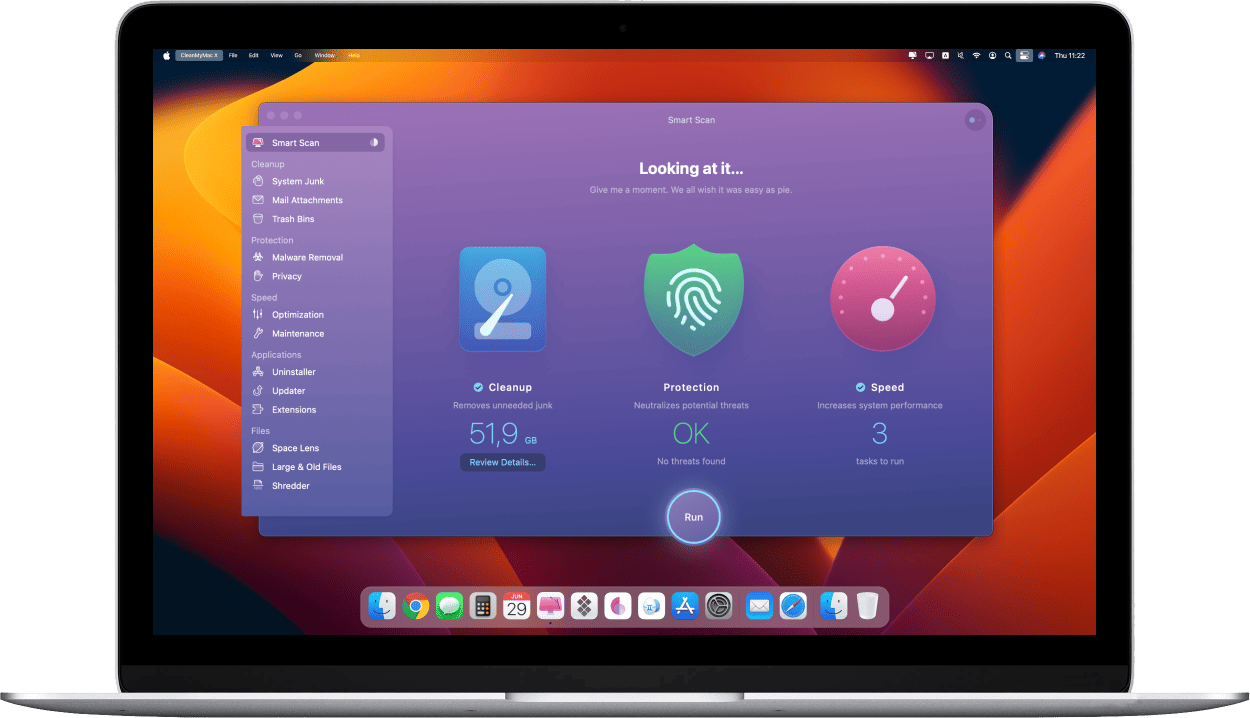
CleanMyMac X can find as much as 62 GB of junk (based on average scan results). But besides cleaning, it speeds up your Mac with maintenance scripts and finds memory-draining apps. Download the free version of CleanMyMac X to see how much junk you can clean up.

Back Up Your Mac
And now that your Mac is clean, you should definitely back it up. Why? You never know what may go wrong when upgrading your macOS. Plus, it’s just good practice to back it up every so often, you know, just in case.
- Go to yourSystem Preferences folder.
- Select Time Machine.
- “Select Backup Disk…”
You may need to first choose to “Set Up Time Machine.” - Choose where you’d like to store your backup.
An external drive or an Airport Time Capsule is good.

After you’ve chosen the drive, click the Time Machine icon in the upper bar and select Back Up Now. This starts the backup.

That’s all. Happy time with macOS 13 Ventura!